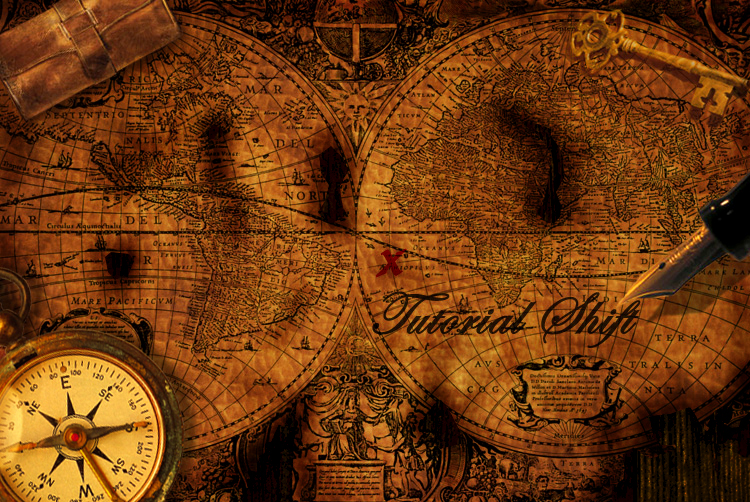
In this tutorial you will learn how to make a realistic looking treasure map with burnt edges.
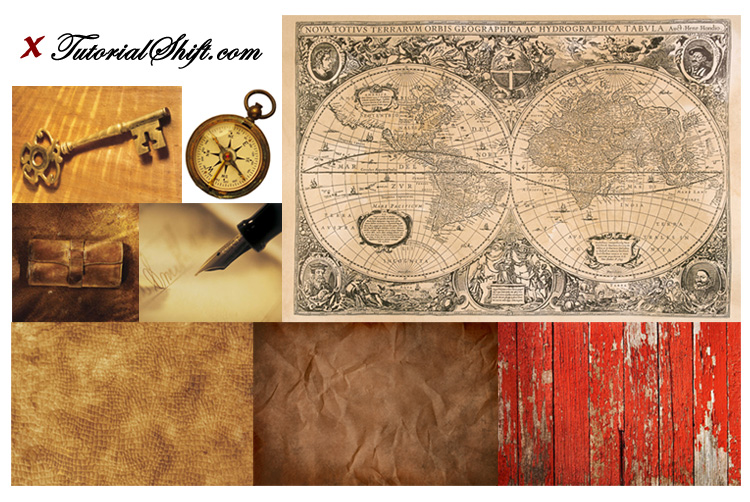
Here are my images that I used in this tutorial.
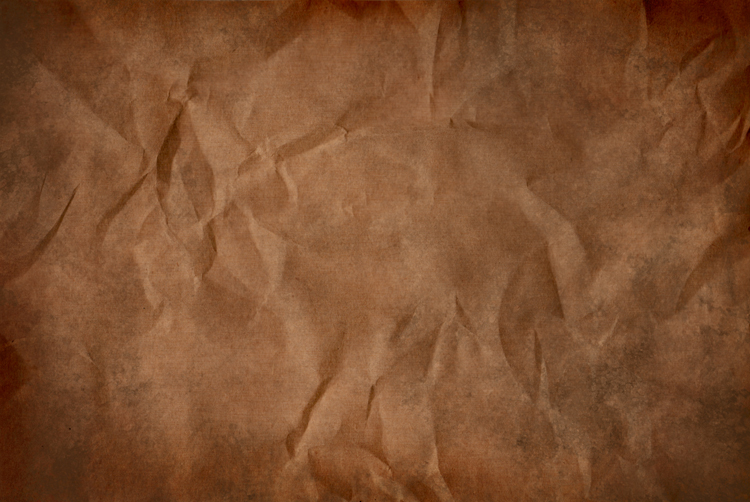
First we are going to lay some textures down to give the map some character and color. My base background is this picture of a piece of crumpled up brown paper.
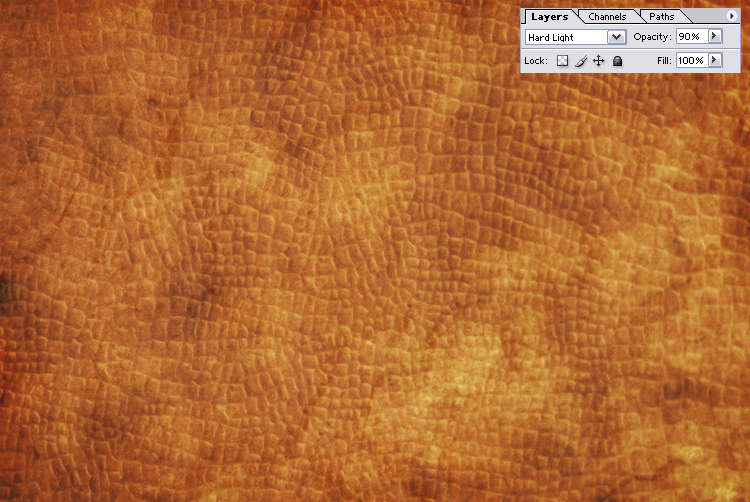
Next we are going to add some leather on top of that. Change the blending mode to Hard Light and the opacity down to 90%.
Now lay over that your map picture. To make that texture show through, change the blending mode toMultiply.

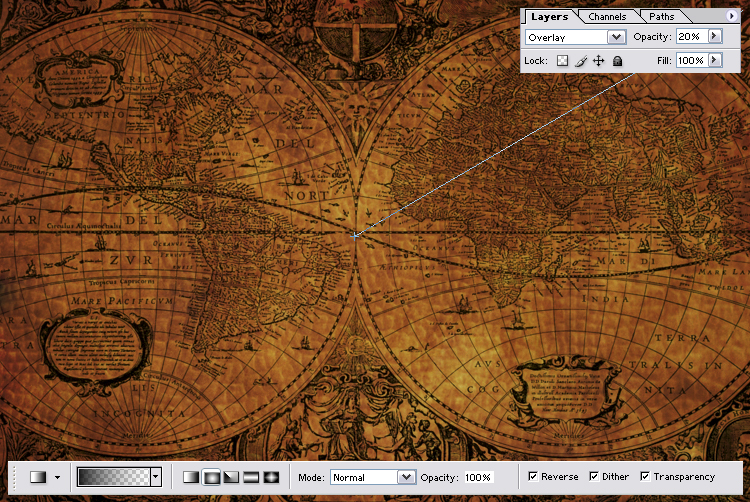
Next to darken up the edges, draw a radial (black to transparent) gradient. To blend it better, change the layer to Overlay and to 30% opacity.
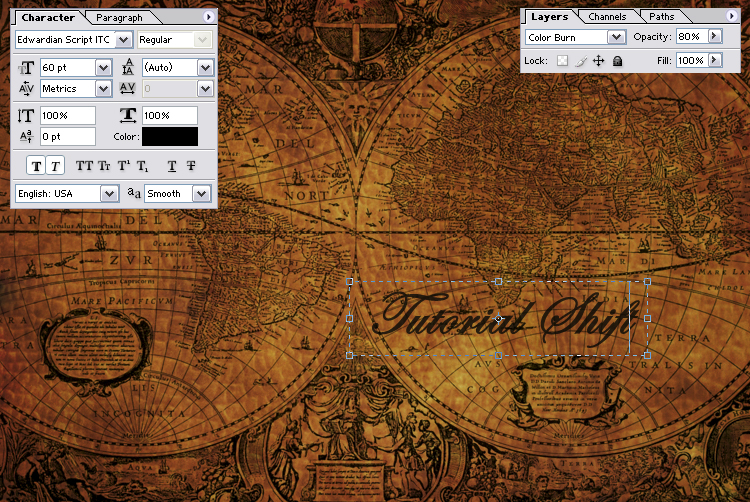
Lets add some text to brand the image (insert your own text here). I used a fancy script font you will see why next. Also change the blending mode to Color Burn and set opacity to 80%.
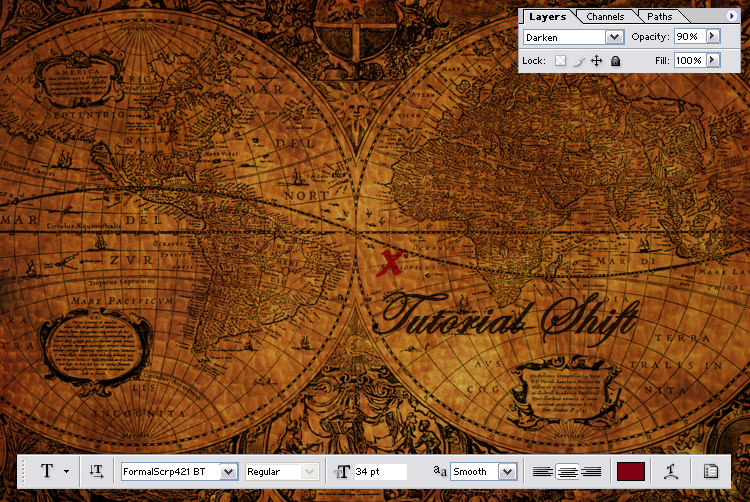
Since we are adding some text, lets add a ‘X’, to mark the spot where the treasure is hidden. Use a dark crimson color and set the blending mode to Darken.
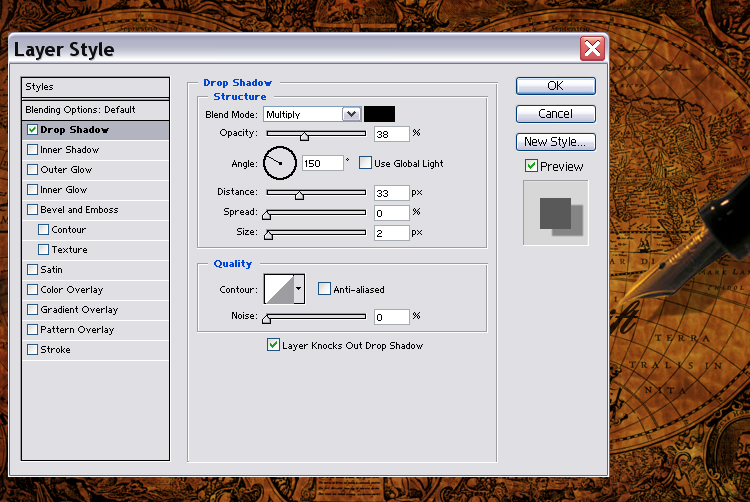
Now we can add a fountain pen to the picture. Use the Polygon Lasso tool to cut out the pen and place it in the new image. Add a drop shadow to the layer to give it a three-dimensional feel.
Now cut out some objects to place on top of the map (ex. compass, key, leather book). Add a light shadow with a feathered edge.

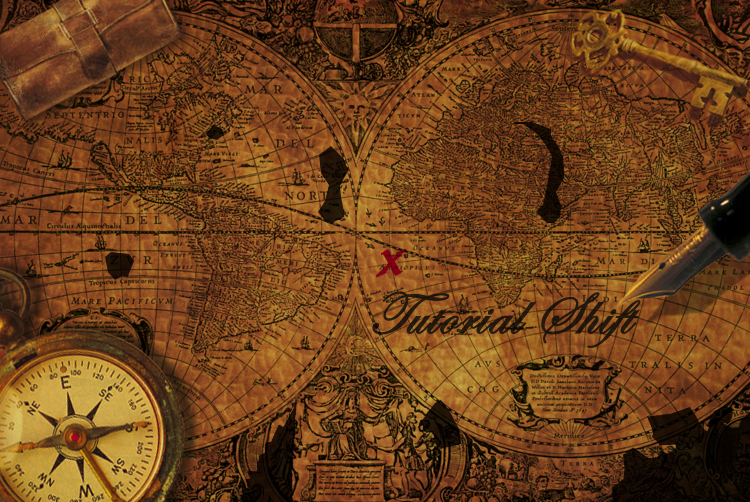
Repeat last step until you are happy with the composition. Then we need to flatten the image so we can add the burnt edges. After flattening the image place a blank layer underneath the map layer and fill it with black.
Next use the Polygon Lasso tool to cut out some jagged holes in the map and also take cut a piece out of the corner.

Now delete that selection and you are left with holes in your map. But we are not finished yet.
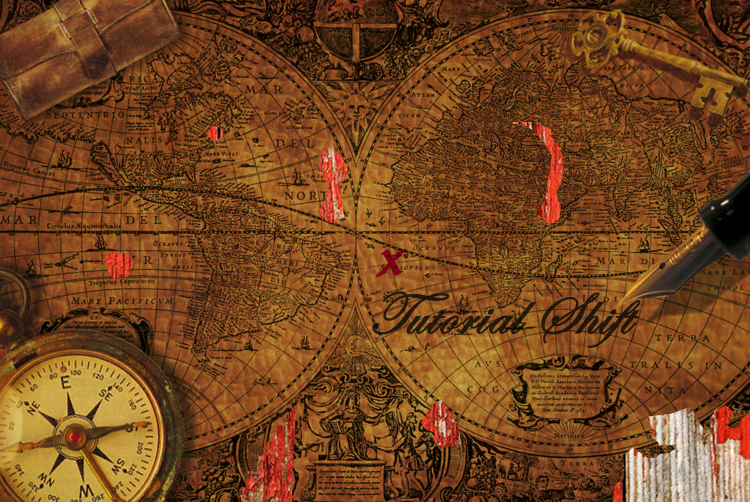
Place an image of old roughed up wood between the top layer and the black layer. So you can see it through the holes.
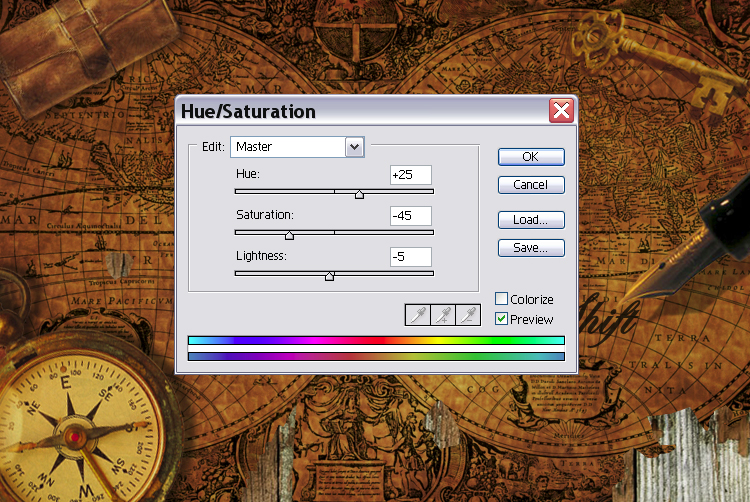
Next adjust the color by going to Image>Adjustments>Hue/Saturation. This will make the wood look like it matches the image better.
After that, change the blending mode to Vivid Light, so that the black shows through. Now it looks like burnt charred wood.

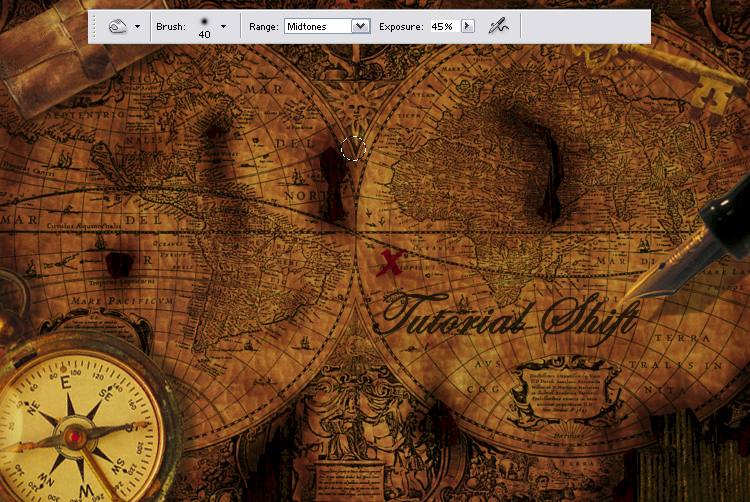
Now using the Burn tool, brush around the edges of the holes and randomly around the map. Use a feathered brush at 45% exposure.
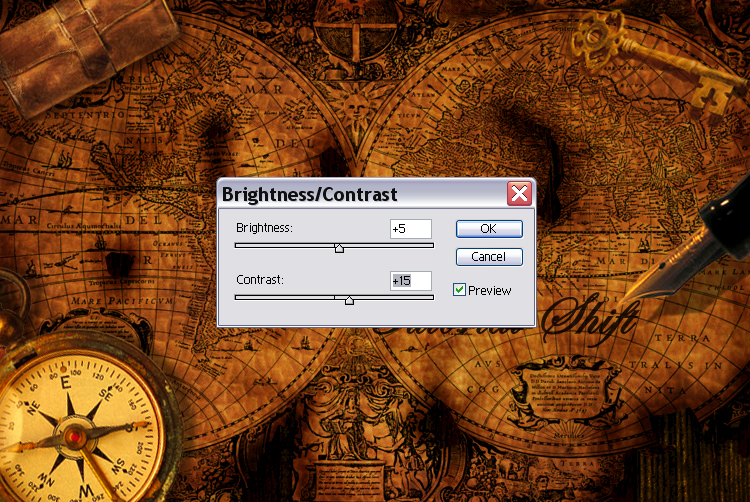
Were almost done! Flatten the image one more time and adjust the brightness and contrast. Go to going to Image>Adjustments>Brightness/Contrast.
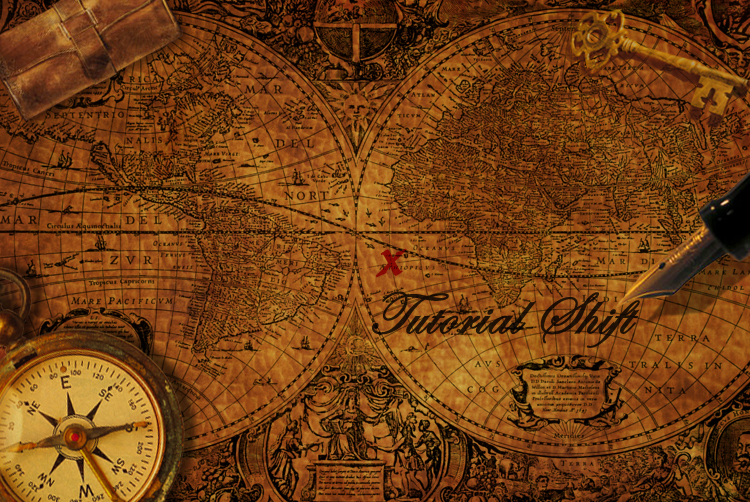
And now we are done creating a treasure map that has withstood the test of time.
Congrats!
출처: http://www.devwebpro.com/a-real-treasure-map/